
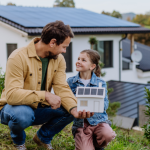
Solar is experiencing a remarkable growth in Tasmania with approximately 20% of all households now fitted with solar panels. These systems offer great benefits, with improved savings on electricity and protection against rising energy bills.
Adding solar panels to your home is a complex process that requires the navigation of various electrical systems, components and regulations. This process begins with the initial planning phase, where your property is inspected, and a suitable solar system is designed. Then, moving into the physical installation, where solar racking is added, and your panels are fitted to your roof.
These steps should only be carried out by a certified solar installer, and understanding the process allows homeowners to feel confident about what to expect from start to finish.
Can I Install Solar Panels Myself?
Conducting a DIY solar system install can be an attractive proposition for many homeowners. It can allow you to control all aspects of your installation, while also potentially cutting costs.
However, in reality, we do not recommend homeowners attempt to install their own solar panels. These installations can be incredibly complex, with intricate electrical systems, strict regulations and high risks. There is a wealth of building codes and electrical regulations to navigate through, making it only suitable for an accredited solar installer who is certified with the Clean Energy Council (CEC). These installers are specifically trained, with the necessary skills and experience to execute a quality installation.
Choosing a solar installer is also essential for avoiding any severe injuries or fatalities. Particularly, when working around electrical wiring and at heights, an accredited professional can make sure that stringent safety procedures are followed.
Step 1: Find a Solar Panel Installer
The first step to organising a panel installation is finding a qualified, experienced installer. To help you make the right choice, we recommend considering the following:
Verify certificates and expertise
Ensuring your solar installer is fully qualified with the necessary certificates gives you the confidence that your system will be installed safely and in accordance with regulations. Accreditation with the Clean Energy Council (CEC) is a big one and should be double-checked, as this is a mandatory requirement for all Australian installers.
Check Reviews
Look up online for customer reviews, which can be a great way to gauge the quality of a solar installer. Customers are always the best advocates for a company, and you could also ask your installer directly for references within your area.
Ask about the warranty
Especially when discussing the price of solar panels, it’s essential that your installer provides clear information about any warranties. Different solar components will have different warranty periods, which guarantees that any potential faults are covered.
Step 2: Assessing Property Suitability

Once you’ve found a certified solar panel installer, you can now move forward into the initial design process. This is a key step in which your installer assesses the suitability of your property by considering the following:
Roof condition
Although most household roofs will have no issues supporting the added weight of a full solar panel system, an older or damaged roof may need repairs prior to installation.
Available space
The amount of available roof space you have will heavily dictate the solar system size you can fit. For example, a standard 6.6 kW system will usually require around 30 square metres of roof space.
Orientation
Solar panels work best when they face north, because Australia is within the southern hemisphere, it receives the most amount of sunlight from the north. Therefore, a roof that can support north-facing panels will be most suitable. Although both west and east-facing roofs are also viable alternatives.
Shading and obstructions
Your property will be checked for any potential shade or obstructions that could potentially block out sunlight. Nearby trees, chimneys, antennas or buildings can all affect your roof’s suitability for panels.
Deciding between roof and ground
While roofs are the popular location for solar panels, if this location isn’t suitable, your solar installer may recommend a ground-mounted system. For properties with ample backyard space, installing solar panels on the ground could be a smart decision. For more information on ground-mounted panels and their benefits, please visit our article here.
Step 3: Energy Consumption Analysis
After your property has been physically assessed, an energy consumption analysis will be performed in which your installer will review your electricity bills. This is a key step in determining the right-sized solar system that can adequately meet your household needs, while also maximising your investment.
Step 4: Designing Solar System
Moving into step four, the installer will finalise your panel design, including the size of your solar system and how it will look on your property:
Finalise the size of your solar system
After conducting both an energy consumption analysis and a physical assessment of your property, installers will determine the best solar system size for you. Homeowners will also give their input to confirm everything matches their budget.
Determine panel placement
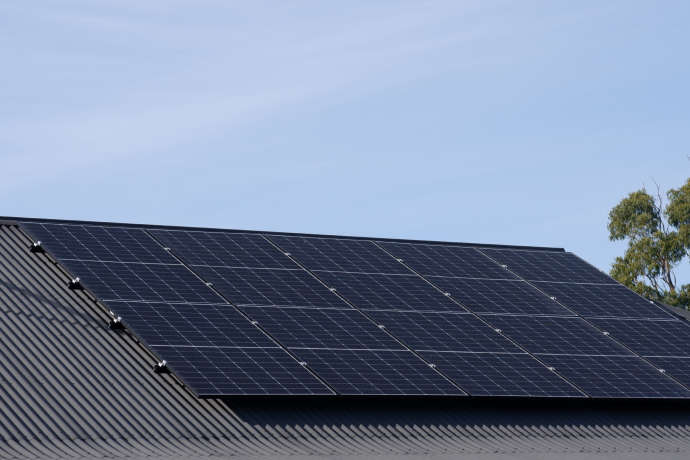
Once a site assessment has been completed, your installer will design a system that focuses on the optimal arrangement of solar panels. Because solar panels perform best in direct sunlight, they will be positioned away from any shade, and ideally north-facing to maximise sun exposure.
Construct system layout/diagram
Throughout the design process, installers will typically construct a diagram, which is a visual layout that explains how solar panels, inverters, batteries and the grid will work together on your property. Created using design software, these diagrams include physical measurements to better map out how everything will be installed.
Step 5: Permitting Process
An often overlooked aspect of the installation process is the various permits that need to be completed and approved. Although they will vary by state and territory, for Tasmanians these include the following:
Planning permit
Most Tasmanian homes won’t require planning permission, unless you currently lie in a heritage-listed overlay, or your solar system exceeds 38m2 in size when on a single roof structure. This will be organised through your local council, and you may incur additional fees of $100 to more than $500.
Grid connection approval
Your installer must organise approval from the electricity network owner (TasNetworks for Tasmania) prior to connecting your solar system to the grid.
Electrical permit
Solar installers will be required to submit a Certificate of Electrical Compliance (CoC) to ensure the entire installation complies with state safety requirements.
Step 6: Homeowners’ Preparation For Installation
To ensure your home is ready for installation, we recommend following these steps to make the process hassle-free for solar installers:
Help maintain easy access
Make sure you prepare both your roof and electrical panel for installers. They should have clear access, and we recommend removing any potential obstructions, such as cars from the driveway.
Be present on the day
Although not always required, being present during the installation can help you monitor the entire process and ask any questions. It can also be valuable to installers, as they will require access to the different parts of your home. If you can’t be present on the day, discuss this in advance with your installer.
Clear area for safety
Before the installation, we recommend removing any general obstructions that could affect their safety, such as outdoor furniture, tools or rubbish. It’s also a smart idea to keep any pets and children safely away from the installation area.
Step 7: Beginning Installation Process
When solar installers arrive at your property, they will carry out the initial installation steps. These typically include:
Setting up ladders or scaffolding
Installers may set up scaffolding, which provides a stable platform for added safety when working at heights. This step may be done a few days before the installation starts.
Check the location of roof rafters
Roof rafters form the structural frame of your roof. Because solar panels and racking hardware can add significant weight to your roof, installing directly into a roof rafter can ensure the strongest parts of your roof are supporting your solar system. Installers will locate these rafter points by using a mallet to listen for non-hollow sounds.
Marking out where racking/panels will be installed
Once your rafter points have been found, installers will place chalk lines to mark out where the horizontal rails will sit on your roof. This is an important step because it helps installers keep the 200mm minimum distance between the edges of the roof and panels.
Step 8: Solar Racking
Before your solar panels are added, a racking system must be installed that lays a secure foundation. This will involve the following steps:
Fix brackets
Although the exact approach for installing a racking system will depend on your roofing material, the most common way is to fix brackets. These will be fitted to your roof rafters using lag bolts and may require cutting precise holes into the roof material.
Install the rail system
After brackets are fitted, installers will fasten aluminium or steel rails. These provide a structural framework for attaching solar panels.
Make sure racking is level
Using a spirit level, or laser level, installers will ensure the racking is straight and properly aligned across the roof, making slight adjustments where necessary.
Step 9: Solar Panel Installation
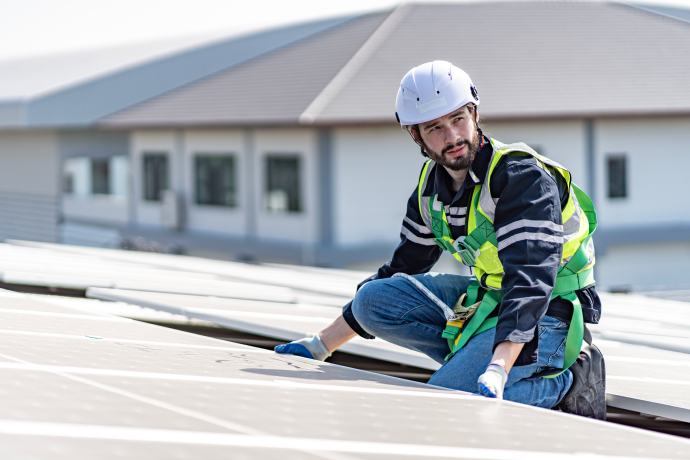
Once the racking system is installed, it’s now time for the panels to be mounted. This process includes the following:
Connect solar panels to racking
Installers will carefully lift solar panels onto the roof and position them on the mounting rails. The panels are then secured to the rail using end clamps and mid clamps, while ensuring correct alignment.
Add clamps between solar panels
To connect multiple panels together, installers use mid clamps, which are placed in the gap between two panels, usually around 20 mm. These clamps are then tightened using an Allen key, securing both panels together to form an interconnected row.
Step 10: Electrical Setup
The electrical setup phase of a solar installation is one of the most complex, but critical parts of the entire process. These steps typically include:
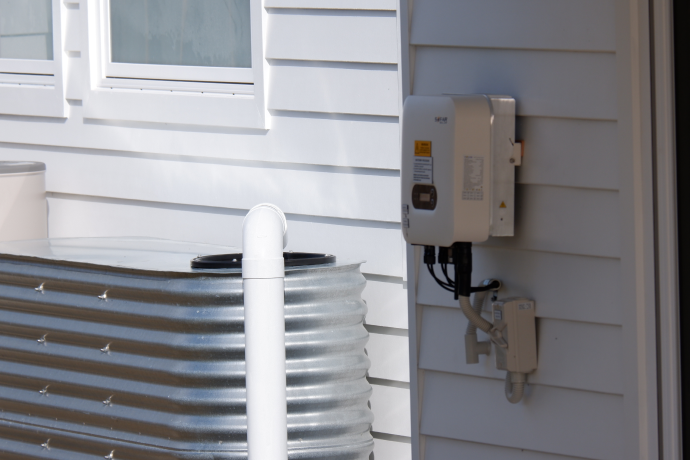
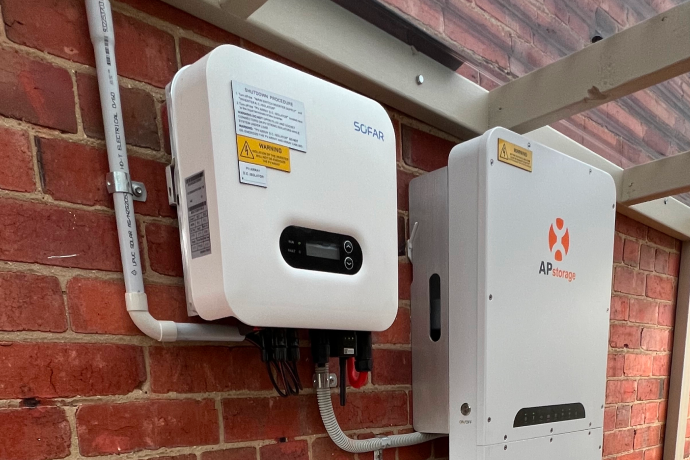
Inverter installation
The inverter sits at the heart of your solar system, and is responsible for converting the direct current (DC) energy your panels generate into usable alternating current (AC). The method of installation will vary greatly depending on the type of inverter. For most residential homes, you will be faced with the choice of a string inverter and a microinverter.
For string inverters, your panels will be connected together in one or more ‘strings’, with the combined energy fed to a central inverter that is typically installed on a wall near your main switchboard. On the other hand, microinverters are installed directly onto each individual panel.
Panel wiring and conduits for protection
Once solar panels are installed, they are electrically connected together either in a string system, for string inverters, or individually, for microinverter systems. To transport energy, cabling is carefully fed through heavy-duty conduits, which offer protection against any weather conditions.
DC isolators
For added safety and compliance with Australian standards, your installer will add DC isolators between your panels and the inverter. This allows your system to be safely shut down in the event of any maintenance or emergency.
Electrical panel connection
The AC output of the inverter is connected to your home’s main switchboard through a dedicated solar circuit breaker. This connection allows any solar energy generated to provide power to your home. As part of this process, your installer will coordinate any grid connection requirements directly with TasNetworks to ensure your system is compliant and approved to export energy to the grid.
Test system wiring, voltage levels
Before your solar system is fully switched on, installers will conduct a series of tests to ensure everything is working as intended. This will include checking both DC and AC voltage levels, ensuring the safety shut-off system is working, and that the inverter is set up correctly.
After these tests are complete, the installer will turn on the inverter and confirm that energy is being generated and sent to your home.
Step 11: Post-installation Support
Post-installation, testing and monitoring must be performed to confirm everything is running smoothly. The steps in this process include:
Inspection to test safety and performance standards
To test that all electrical connections are working properly and your system is producing the expected results, a full inspection will be performed. This is usually carried out by a licensed electrical inspector and leads to a Certificate of Electrical Safety (CES).
Set up monitoring tech
Modern solar systems are fitted with monitoring technology that allows homeowners to track their energy production. This data can usually be monitored via an app and is essential to identifying any dips in performance that may indicate an issue.
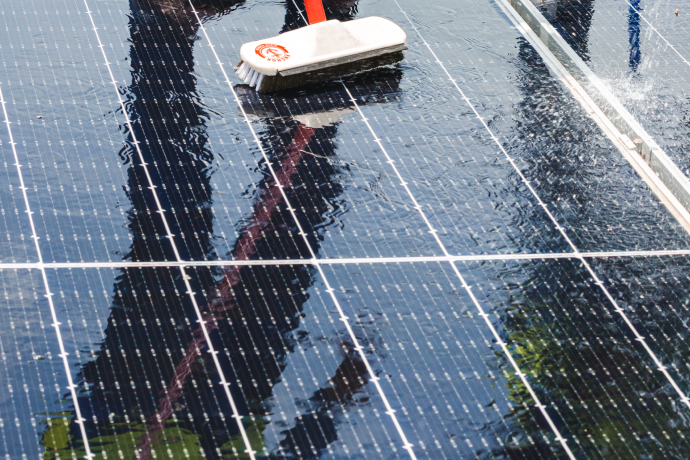
Schedule regular maintenance and cleaning
Establishing a consistent maintenance and cleaning routine post-installation is a key step to ensuring your system performs well. We recommend cleaning your panels every six months, with periodic maintenance checks once a year by a solar professional to check for any issues.
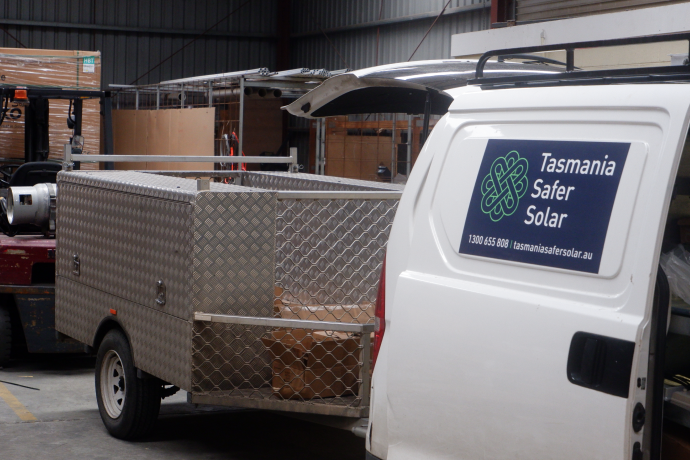
Installing solar panels can be a lengthy process that involves multiple complex steps. By understanding each of these steps, you can ensure a solar installer carries out the correct installation, which sets you up for success. The team at Tasmanian Safer Solar (TSS) are Solar Accreditation Australia (SAA) accredited, with a proven track record of delivering successful installations across Tasmania. Please contact our team here for more information.